Improve Your Google Page Speed by Optimizing Your Images
AJ LaPorte#CMS, #Mobile, #Design Advice

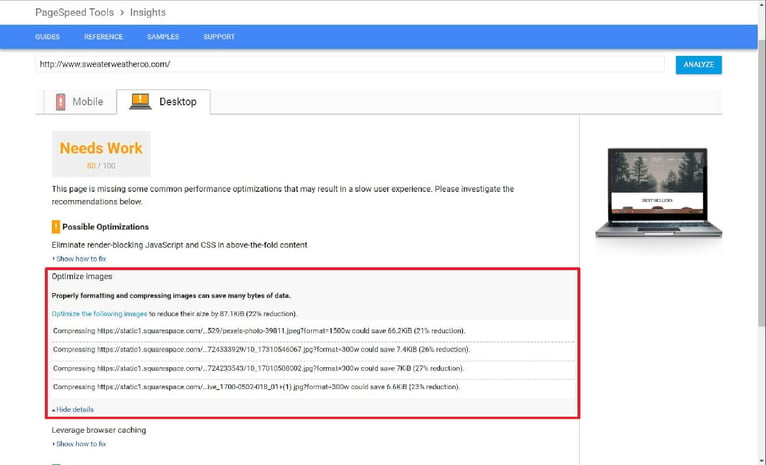
PageSpeed Insights is one of the most popular tools for companies looking to gauge the overall speed of their website when it comes to performance for end users. This tool, free to use from Google, allows you to check a page on a website to see if the page has common best practices for performance applied to it. After analyzing the page, it will return a score from 0 (Poor) to 100 (Good) and provide a list of improvements (if needed) that you can apply to your site to improve your score. One of the more common (and almost always) responses returned from PageSpeed Insights is the optimization of images. Optimizing your images can greatly help to improve your PageSpeed Score.
On many of the websites that we perform audits on we often see that images are overlooked by clients when adding them to their website (usually through a file manager in the backend). Depending on the platform your website is built upon, some may already include image optimization in some form. For example on the HubSpot CMS when you add an image into the file manager backend, the image is automagically optimized to 80% of the original size and then placed in the file manager. So what can you do in order to get those page speed numbers up? How can we optimize our images to its fullest potential? Well, let's take a look at two things we can do to accomplish this.
Resize your image to fit the area of the content they will be utilized for
When we use images in designs we often size the images through CSS or inline styling. One example of an image like this would be an author image for a blog article. Generally, we see these images as either a rounded circle or square headshot image in the byline or the "about the author" section of a blog article.
If an author image will only be a certain size on your website and no larger, then you should size all of your author images to be that size (for example 125px height ✕ 125px width). If you are unsure about the best size for your image you can always reach out to your developer/designer for recommended sizes.
Optimize the image
One consistent item that is discovered when we run audits on sites is that images that are added are not optimized prior to uploading it to the system. Even images uploaded into systems like HubSpot's File Manager may not always be optimized to their fullest (even with the built-in optimization).
Luckily, there are a number of ways we can go about optimizing these images.
Make use of an image optimize service
Image optimization services give you the opportunity to upload your images to their servers and then download an optimized version for use on your site. Below are some popular image optimization services:
TINYPNG/TINYJPG
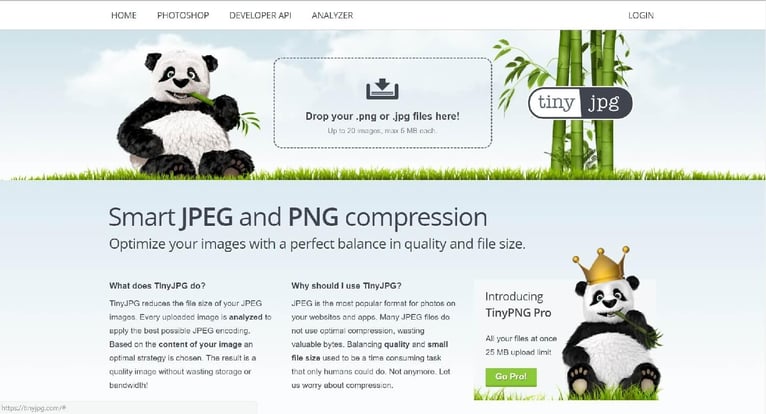
This is my personal favorite as they also have a TinyPNG Zapier Plugin (currently in beta) that you can use. I used it on this post here for all the images and it saved me about 3MB in size (81% compression total).
KRAKEN.IO

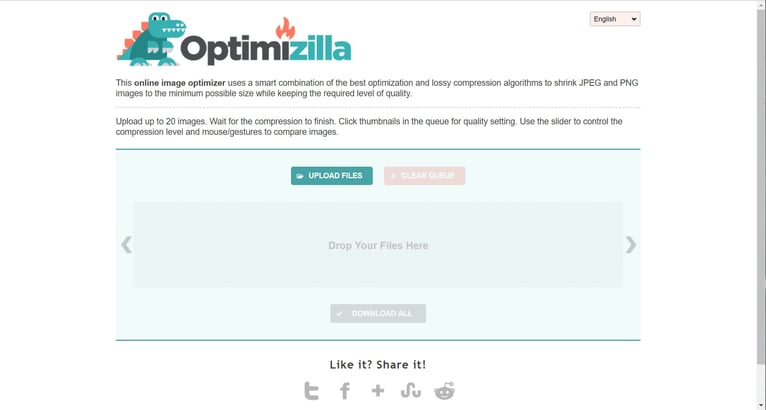
OPTIMIZILLA
PAGESPEED INSIGHTS DOWNLOAD LINK
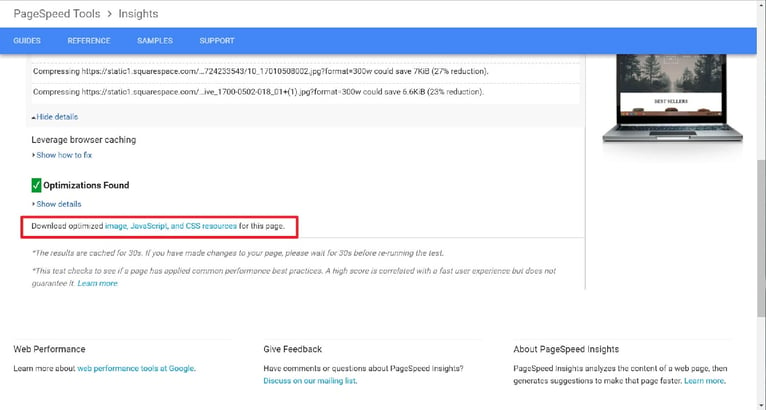
Google's PageSpeed Insights also provides you with a link where you can download optimized versions of your images. There is a bit of caution on this one. Mainly because if Google recommends resizing and compressing the image, the images in this download will also be resized.
PageSpeed Insight Modules for your server
Google provides modules you can integrate into your Apache or Nginx Server that will automatically optimize your website for you. While they do not offer one for Windows-based servers, they do offer an open source set of C++ classes at their PageSpeed Optimizations Libraries that you can utilize in your projects/solutions.
Visual Studio Image Compressor Extension (for VSO users)
Even though there is no PageSpeed Insights module for Windows, there is a plugin that can be utilized in Visual Studio to optimize images: Image Optimizer for Visual Studio. If your solution doesn't have your images included in it and you are a user of Visual Studio 2017, you can open a folder directly and use this plugin. Likewise, if are a user of Visual Studio 2017 and need to optimize images that are not in your current solution, you can always create a new blank solution, add an external folder location, and use the plugin that way as well. You can also find this plugin on the visual studio marketplace gallery.
We've seen some sites jump as high as 30 points in PageSpeed Insights when optimizing just images. So, while optimizing images may not seem like the most fun thing in the world or the most important when creating/optimizing your website, it can make the difference between a fast user experience and a slow one. What image optimization techniques do you use? What was the increase you saw in your score? Let us know in comments below or through social media!
Related Posts

Why You Need an SEO Content Audit in your Migration Plan
Diagram's Allison Casey spills all her insider SEO tips on migrating your content the right way.

3 Pro Tips to Make Your HubSpot Workflows Successful
HubSpot's workflows are a powerful tool for connecting with your customers. We share 3 pro tips for getting the most out of your workflows.
Results Matter.
We design creative digital solutions that grow your business, strengthen your brand and engage your audience. Our team blends creativity with insights, analytics and technology to deliver beauty, function, accessibility and most of all, ROI. Do you have a project you want to discuss?

Like what you read?
Subscribe to our blog "Diagram Views" for the latest trends in web design, inbound marketing and mobile strategy.